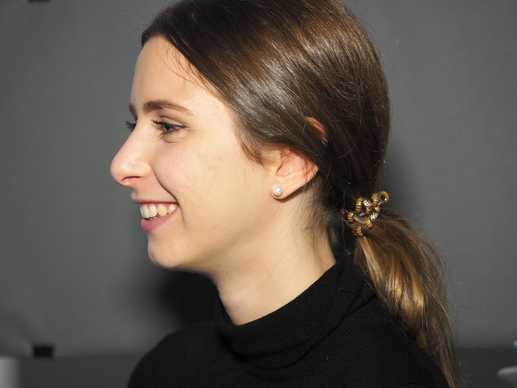
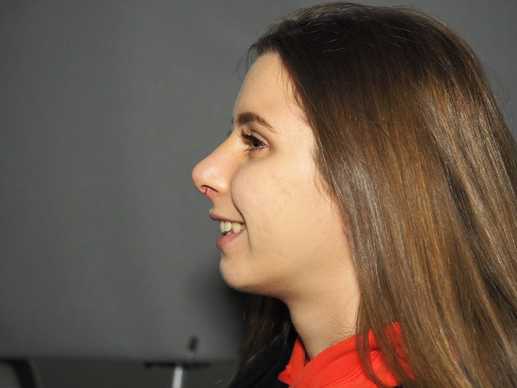
I first explained to the doctor that I didn’t like my profile, that the tip of my nose was too wide, and that my nose moved downwards when I spoke or smiled.
I also told him that the most important thing was for my new nose to fit with the other features of my face.
After this, we began the main part of the examination.
Clinical examination, endoscopy and medical history.
First of all, the doctor took my medical history, starting with how old I was, if I smoked or drank, and asking about other daily habits such as diet and exercise. Then he asked me if I had any existing or previous health problems.
Once he had taken my medical history, Dr. Mireas examined the inside of my nose using video endoscopy and showed me the result on a computer screen, explaining that I had a deviated septum. Until then, I hadn’t even realized that this was the cause of some minor breathing problems that I had been experiencing!
He reassured me that he would be able to correct this during the operation and that I would be able to breathe normally from then on.
3D rhinoplasty simulation
Once Dr. Mireas had thoroughly examined the inside of my nose, we were ready for the 3D simulation.
I sat in front of a complicated-looking piece of equipment with 3 cameras. Some lights flashed, and in less than a minute, a 3D-image of my face appeared on the computer screen.
Based on this image, I was able to explain exactly what changes I wanted.
Dr. Mireas then created a set of pictures of what my nose could look like after the operation.
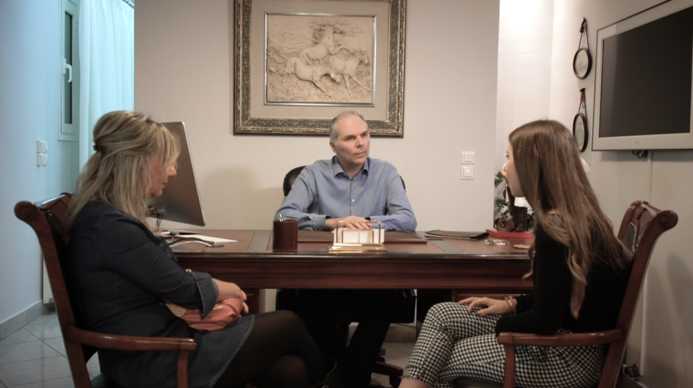
Before the rhinoplasty procedure: discussion with the surgeon
I told Dr. Mireas “I want you to improve my profile, to raise the tip of my nose and to fix it so that my nose doesn’t move down towards my mouth when I smile or laugh. I also want my nose to be thinner, because it is too fat.”
Dr. Mireas then explained to me what was surgically possible and what would fit better with my face. He assured me that the result would look absolutely natural and no one would even realize that I had had a nose job.
We spent an hour looking at different options on the screen. Using the mouse, we changed the size and shape of my nose, trying out different widths and angles. We were able to put one version next to another, or on top of another, and make lots of other comparisons before arriving at exactly the right one for me.
For the first time, I was able to see before and after images of my nose.
And sure enough, the nose that I saw on the screen was exactly the same as the one that I would see in the mirror a few days later!
What I realized is that the 3D simulation can help answer a lot of the questions that a patient might have.
A patient can also have an unrealistic “shopping list” of wishes and demands. Thankfully, with a 3D simulation an expert surgeon can easily explain which are surgically feasible and fit better with a person’s face, appearance and personality.


